Showing posts with label fabric markers. Show all posts

Tuesday, October 19, 2010

Hootenanny!


A couple weeks ago I had the privilege of putting on a birthday party for a special seven year old girl. I came up with an owl project that encouraged the party goers to color, stitch and stuff. At the end of the party each child went home with an owl softie of their very own.


Before the party I created a simple pattern with folded newspaper. I made a top and bottom piece for the owl front and a single piece for the back. I pulled out assorted fake furs, and white cotton knit from my fabric stash. This is a great time of year to purchase fun fur, it's on clearance with Halloween novelty fabrics.


I pre-stitched the owl heads to the bodies to cut down on machine stitching at the party.


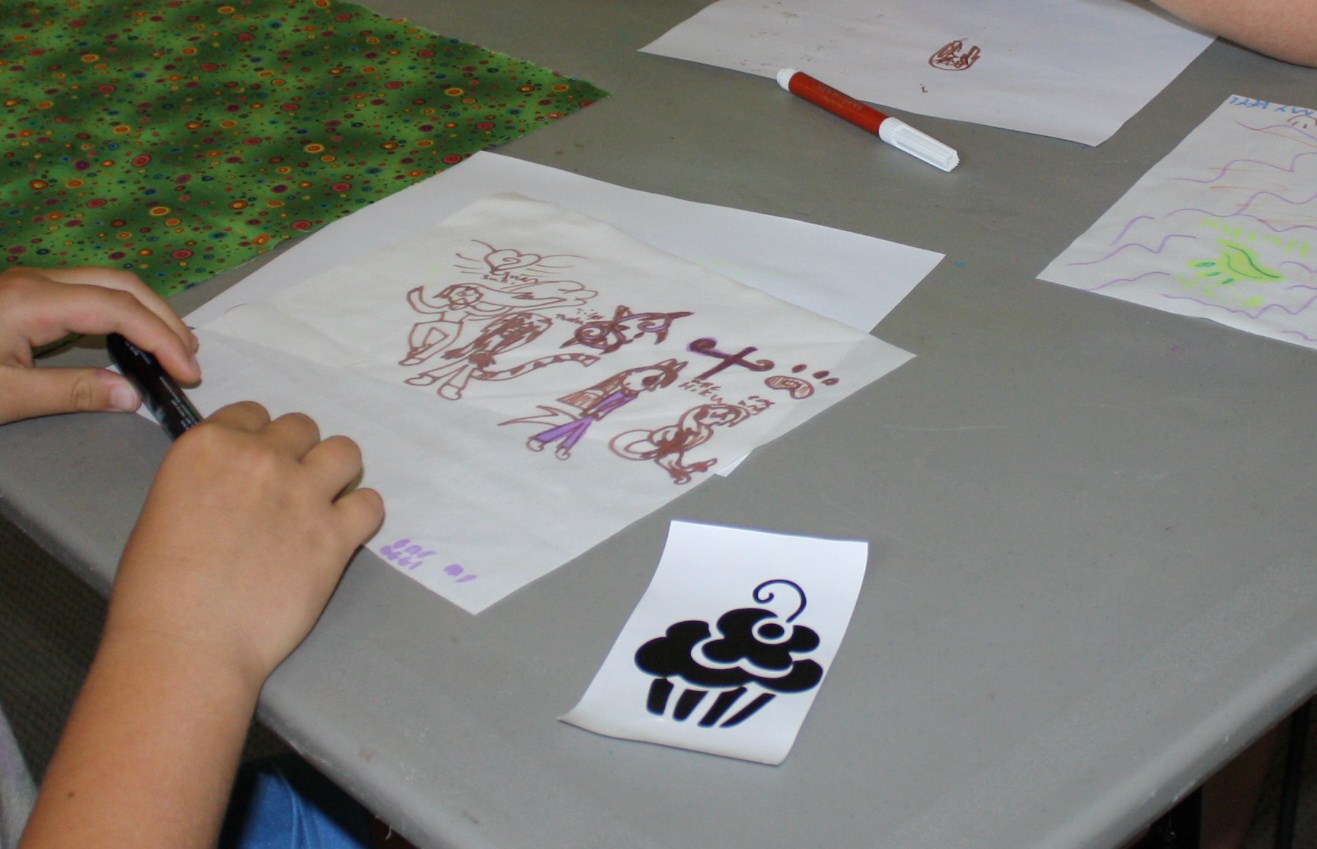
The first step was to have the children decorate the white owl bellies with fabric markers. Be sure to place a piece of scrap paper under the fabric to protect the table.


Next we outfitted each girl with a crewel needle strung with a full strand of embrodiery floss. They stitched felt flowers, circles, large button eyes, and a triangle beak to the owl's head. I encouraged them to keep the embellishments away from the sides where they might get trapped in the seams.


After a quick demo the kids pinned the fronts and backs right sides together. This is when the line began to form at the machine, fortuantely not everyone was ready at the same time. It took me a couple minutes to make a continuous seam around the outside of each owl. Many girls left their owls with me while they enjoyed snacks and cake.


I left a three inch opening at the base and snipped the excess fabric off the top of the ears. I showed them how to turn the owls right side out and sent them to stuff their owl. This is a favorite step, I've yet to meet a child who doesn't like to stuff! For time sake I needed to stitch the opening closed on the sewing machine. We found that lightly stuffed owls were much easier to get through the machine. Be sure to tuck under 1/4" of the cut fabric edges in before seaming up the opening closed.

This party took place at one of my favortite creative places Art Mind and Soul Studios in Fort Andross.
Wishing the party girl many happy returns of the day!

Wednesday, August 18, 2010

DIY Throw pillows for teens


I wrapped up my summer teen program with this sensational teen DIY throw pillow craft . Creativity was on the loose and Polyfill stuffing was flying through the air.


Last spring I was gifted a beautiful selection of fabrics I pulled out a stack of 1/2 yards for the teens to use. Our wonderful teen librarian Melissa had the kids select their favorite patterns. She borrowed my rotary cutter, cutting mat, and straight edge to pre-cut the fabric into pairs (fronts and backs) of 16" squares.


I cut Muslin into twelve inch squares, two for each crafter. One for drawing and the second to use as a backing to block the intensely saturated patterned fabrics.


I set the teens loose with fabric markers and some Tulip Multi-Surface Stencil tm the peace, skull and cupcake images were all very popular. The stencils have a tacky backing that grips the fabric while you trace around them. One note of caution be sure to use scrap paper under the fabric as the markers will bleed through. Check the package instructions, some varieties of markers need to be heat set with an iron.


It was exciting to walk through the room and see the range of styles, the markers sparked creative freedom.

These artist didn't use stencils!
I asked the teens to stack their drawings over the plain muslin backing and pin them to the center of a patterned squares. If I ever repeat this project I'll demo how insert a straight pin, its easy to forget that the majority of kids aren't familiar with basic sewing techniques.


We had a large group, one sewing machine, and a time limitation. I quickly seamed the edges of the drawings to each pillow fronts. With a smaller group I'd encourage the kids to use the machine themselves. Placing the pillow front and back right sides together proved to be another conceptual challenge.


After they pinned them together I seamed the four outside edges together leaving a four inch opening to turn the pillow right sides out and stuff.


I was happy to let the teens hand stitch their openings closed, for many it was their first experience with a needle and thread. Thank goodness Melissa was on hand to help, I was tied to the sewing machine the entire second half of the program. They left with stunning creations, pride and a sense of accomplishment. What a great way to spend an hour or two with a group of teens.

Melissa Orth super teen librarian in action!
This afternoon we're getting together to brainstorm more DIY teen crafts for the fall, I can't wait to get started again.
Related Posts with Thumbnails