Sunday, August 22, 2010

Covered Button Ponytail Holder: How To


It's back to school time! Once you've picked out your wardrobe, it's time to get crafty and make coordinating hair accessories. If you stash fabric or are holding onto small scraps this project is just for you. Making fabric covered buttons is a cinch, if you haven't tried it before follow these easy steps. It's a great crafty trick to have up sleeve.


Purchase the desired sized button covers and tool kit at your local sewing store. I used 11/8" covers which are too large for toddlers and preschoolers but are perfect for school aged kids and adults. The kit comes with two plastic pieces, a white base and dark blue insert. You'll also need: fabric, thin hair elastics, chain nose pliers and scissors.


Use the template on the package to cut out a circle of fabric. Make sure the center of the circle features the portion of the fabric design that you want to appear in the center of the button.


Place the fabric right side down into the white plastic base.


Position the button back rounded portion down over the fabric and press it down into the base.


Curl the fabric edges down into the curved button. Place the wired button back down over the fabric covered base.


Push the dark blue piece down over the button cover and press down until you hear the top and bottom pieces snap together.


Remove the finished button from the white plastic base.
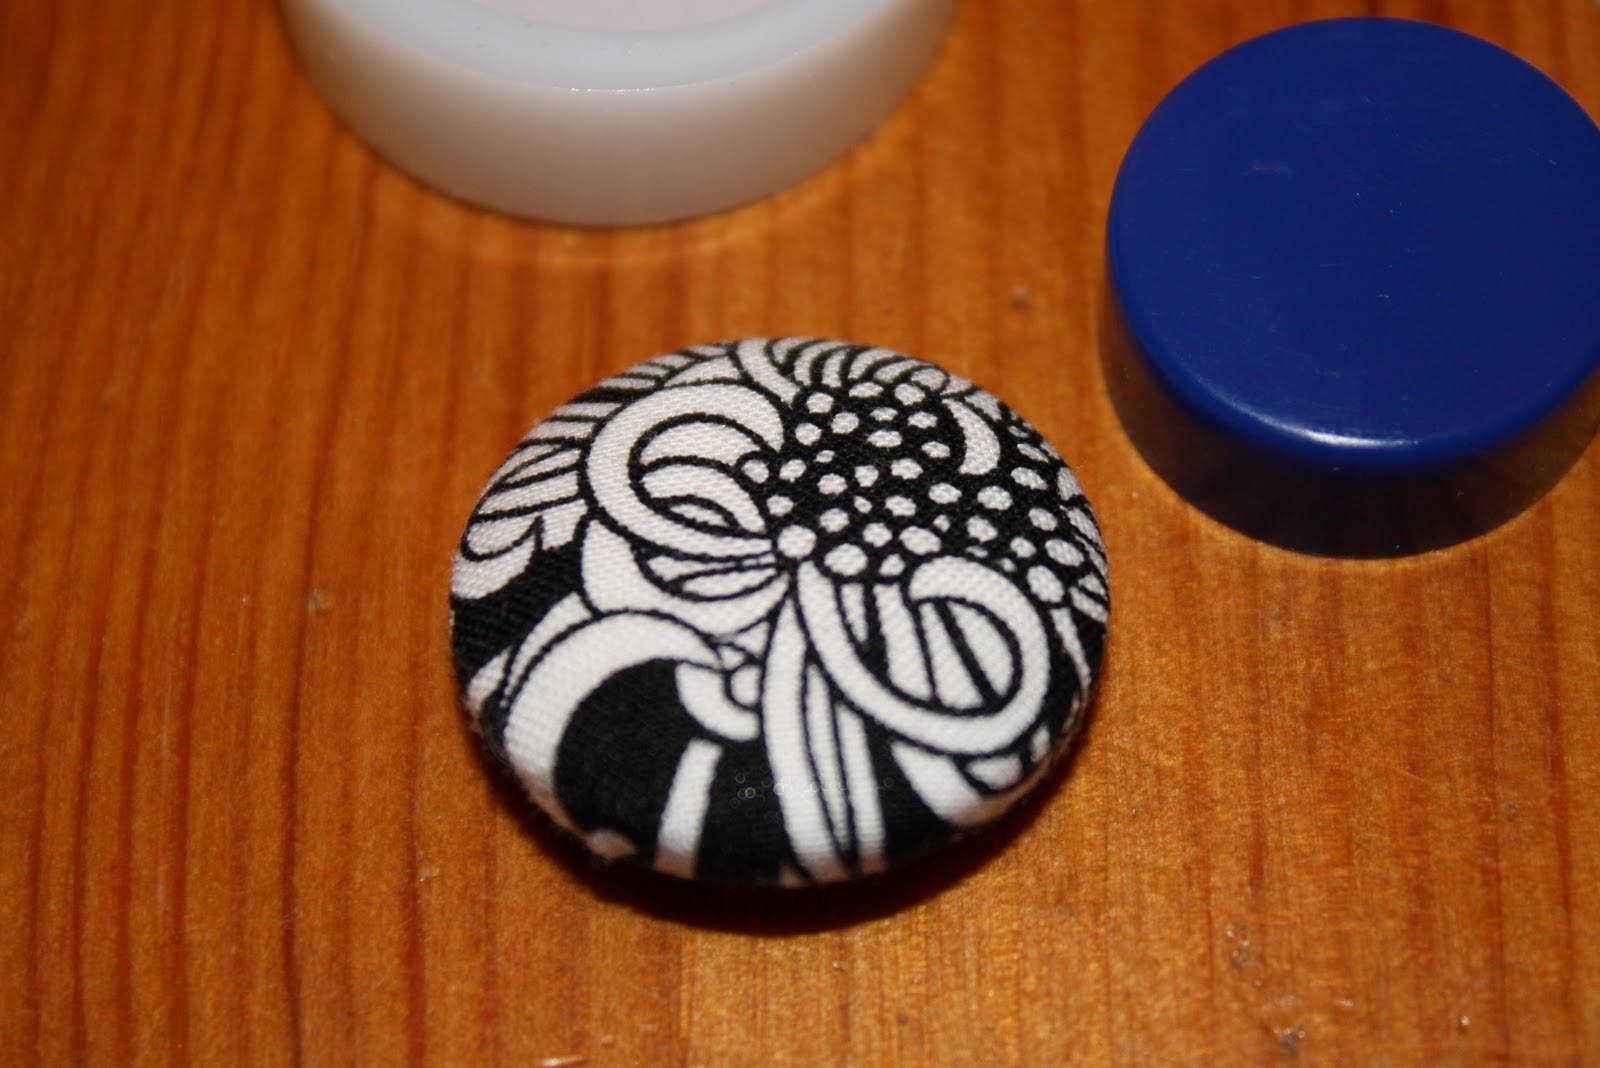

Flip the button over wrong side up on your work surface. Grab the wire shank with the chain nose pliers and push down against the button back to widen the shank. Pull the elastic halfway through the modified shank. Loop one end of the elastic through the other and pull tight.


There's no end of possible button sizes fabric and elastic combinations, have fun!


While I've been booking Holiday Craft Fair dates I've been brainstorming ways to keep inventory throughout the season. This bright and colorful ponytail project is easy on the hands and should be popular stocking stuffers. I just placed a bulk order for button blanks.... maybe I'll have to go fabric shopping to find some irresistible smaller print fabrics.

Wednesday, August 18, 2010

DIY Throw pillows for teens


I wrapped up my summer teen program with this sensational teen DIY throw pillow craft . Creativity was on the loose and Polyfill stuffing was flying through the air.


Last spring I was gifted a beautiful selection of fabrics I pulled out a stack of 1/2 yards for the teens to use. Our wonderful teen librarian Melissa had the kids select their favorite patterns. She borrowed my rotary cutter, cutting mat, and straight edge to pre-cut the fabric into pairs (fronts and backs) of 16" squares.


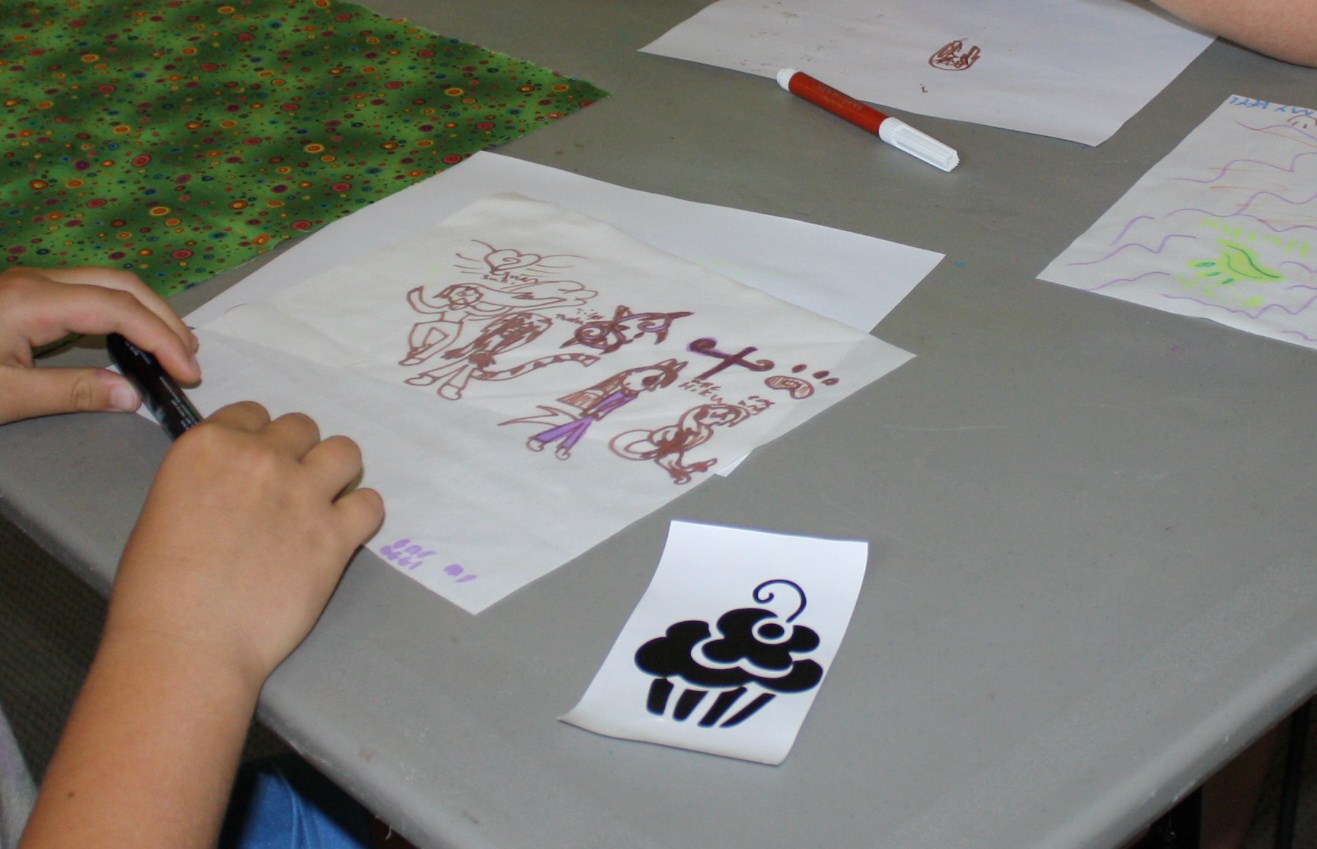
I cut Muslin into twelve inch squares, two for each crafter. One for drawing and the second to use as a backing to block the intensely saturated patterned fabrics.


I set the teens loose with fabric markers and some Tulip Multi-Surface Stencil tm the peace, skull and cupcake images were all very popular. The stencils have a tacky backing that grips the fabric while you trace around them. One note of caution be sure to use scrap paper under the fabric as the markers will bleed through. Check the package instructions, some varieties of markers need to be heat set with an iron.


It was exciting to walk through the room and see the range of styles, the markers sparked creative freedom.

These artist didn't use stencils!
I asked the teens to stack their drawings over the plain muslin backing and pin them to the center of a patterned squares. If I ever repeat this project I'll demo how insert a straight pin, its easy to forget that the majority of kids aren't familiar with basic sewing techniques.


We had a large group, one sewing machine, and a time limitation. I quickly seamed the edges of the drawings to each pillow fronts. With a smaller group I'd encourage the kids to use the machine themselves. Placing the pillow front and back right sides together proved to be another conceptual challenge.


After they pinned them together I seamed the four outside edges together leaving a four inch opening to turn the pillow right sides out and stuff.


I was happy to let the teens hand stitch their openings closed, for many it was their first experience with a needle and thread. Thank goodness Melissa was on hand to help, I was tied to the sewing machine the entire second half of the program. They left with stunning creations, pride and a sense of accomplishment. What a great way to spend an hour or two with a group of teens.

Melissa Orth super teen librarian in action!
This afternoon we're getting together to brainstorm more DIY teen crafts for the fall, I can't wait to get started again.

Thursday, August 5, 2010

How To: Mermaid and King Triton Craft


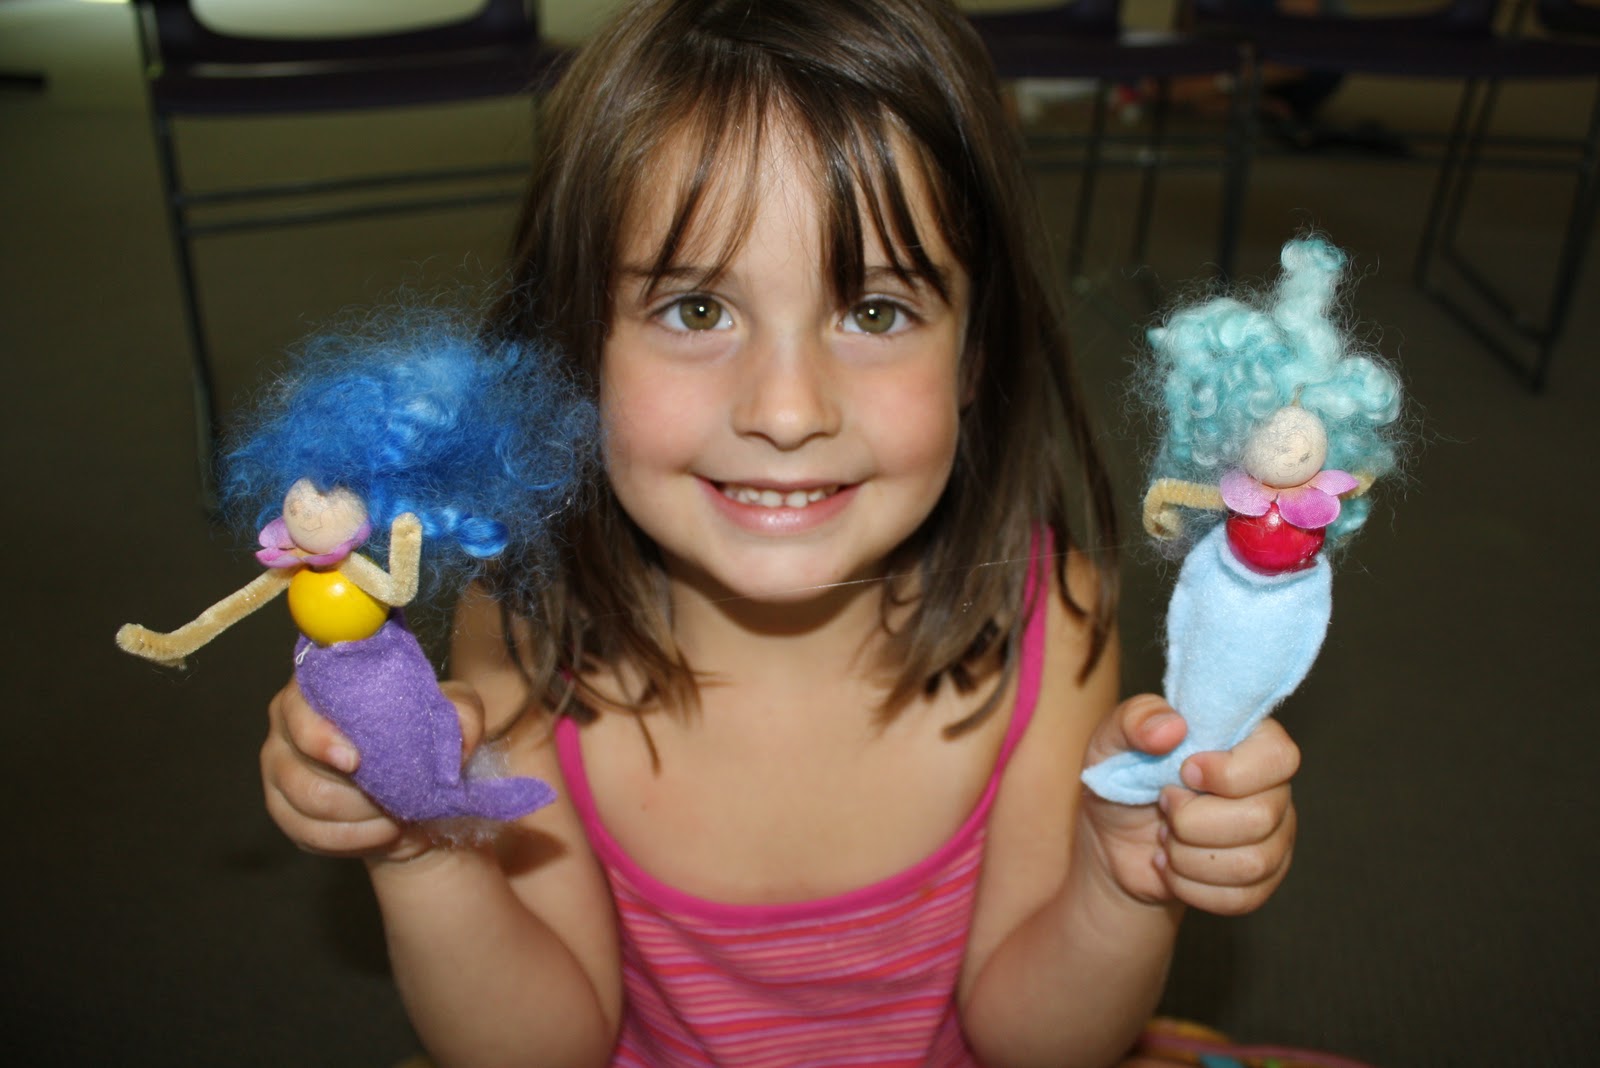
If you spend time with little girls you've already seen first hand how tales of mermaids capture their imagination. This easy mermaid craft project is inspired from the flower fairies I created for my Fairy Crafts book ten years ago. There's nothing like creating magical beings to ignite a child's imagination. I've been eagerly anticipating this workshop all summer long and was excited to share it with my library friends this week. The best surprise was watching how much the boys enjoyed making the Triton variation, arming the merman with a shiny trident was key.


Books are the best way to bring a group together, I began by reading Mermaid Sister by Mary Ann Fraser, it's the perfect read aloud full of fishy humor and entertaining jabs at sibling relationships. It's one of my daughters favorites, I can almost recite it by memory.

Materials:
Wool roving for the hair - Portland Fiber Company
20mm Unfinished round wood bead
20mm and larger Colored wood bead - Darice
Felt - I use National Non Wovens Xoticfelt tm made from Bamboo for my kits
Beige chenille stem cut in half - one half for the body and the other half for the arms
Silver tinsel chenille stem for the trident, and an additional 3" piece section to make a crown.
Small amount of Poly fil stuffing
Colored pencils
Silk flower petals - pulled from small silk flowers for the mermaids collar


Tools:
Wire cutters to cut the chenille stem (to save your scissors)
Hot glue gun and melt sticks
Needle and thread or Sewing machine


To make the merfolk tails you'll need to create a simple paper pattern.  Fold a sheet of paper in half draw half a fish shape 4 1/2" long tail that is 1/2" wide at the waist, 1" at the hips, 1/2" at the connection to the tail and flares out to an 1 1/4" at the tail. Cut along the line so that the paper unfolds doubling the measurements and makes a symmetrical full sized pattern. Use the pattern to cut two felt tail pieces, stitch the outside edges together, be sure to leave the top open for stuffing. For the sake of the workshop the librarians kindly pre-cut all the tails and I pre-stitched them.


The first step is to fold the chenille stem in half and trap a generous pinch of the roving hair in the fold. The mermaids hair falls in two long flowing sections, tuck in the ends of King Triton's hair to make it appear shorter. After you arrange the hair slide the unfinished wood bead head up the chenille stem ends, pushing it snug against the hair.


For the mermaid thread the petal collar over the ends and slide it up against the head bead.


Position the second beige chenille stem for the arms between the the ends and slide it up under the head bead/petal collar. Slide a colored body bead up the ends and push it up against the arms to hold them in place.


Bend the arms at the elbow and fold the ends over to make hands.


Separate the chenille ends under the body bead to create hips that hold the stacked beads and arms in place.


Use a pencil end to help push the Poly fil stuffing into the tail. Leave some empty space at the top of the tail to accommodate the body.


Carefully apply hot glue to the chenille hips and the base of the body bead and carefully pull the tail over the glued areas. This is an adult step, after years of crafting I still manage to burn myself with the glue gun!


Shape the short silver tinsel chenille section into a crown, and the long section into a trident. King Triton also needs a beard, carefully glue a small section of roving to his chin. Use colored pencils to color a face, avoid using felt tipped markers that will bleed into the unfinished wood.


This was my daughters favorite workshop of the summer, get crafty and spread some merfolk fun with your family! I'll be selling these handmade mermaid kits at Higgins Beach Craft Fair next Friday the 13th and Saturday the 14th.

Sunday, August 1, 2010

Groovy Guitar Pick Bracelets: How To


Fridays guitar pick workshop was pure chaos. I found myself surrounded by thirty teens instead of the usual fifteen. The turn out was great, just wish I'd knew it going to happen. We avoid preregistration to encourage more last minute attendance, I brought enough supplies for twenty five teens which is ten more than usual. After a frantic head count and some quick math I switch the two banded bracelet design to a single band, and realized that I would have to limit the girls to two guitar picks each.

Buying guitar picks for a group can be expensive, I advise purchasing economical twelve packs. I took advantage of my son's employee discount at the Music Center to provide the group with a selection of brands and colors. If you're just making a couple of bracelets you can splurge and select individual picks with gorgeous graphics and textured plastics. Just remember to stick to the medium to hard varieties that can withstand drilling and wear.

Materials:
8" length of Round Leather or faux leather Black cotton cord.
2 coil crimps
2 6mm jump rings
1 lobster clasp or spring coil clasp

Tools:
Chain nose pliers
Scissors
Drill with 1/16" bit


Working over a wood scrap, drill a hole straight down into the center top of the pick, 1/8" from the top edge. My husband Jon kindly pre-drilled all the picks before the workshop. Over the years he's drilled so many small items for jewelry making he's comfortable stacking them together and drilling through multiples.

Use chain nose pliers to open the jump ring laterally, slip on the pick and then close the ring. To read more on opening jump rings please see my 'Summer Earring' tutorial. Repeat the process until each pick is strung with a jump ring.
 
Thread one end of a 8" length of cording into the open end of the coil crimp. Grasp the wire end with your chain nose pliers and squeeze it into the center. The bent wire end should trap the cord in place. I won't lie many of the girls found this difficult. We had a two fold problem a shortage of pliers and the cording was on the thin side (remember I was planning on doubling it) it would pull out from under the bent wire. It would be much easier to trap a solid thickness of real leather.

At the end of the program I realized I could have avoided the frustration by simply threading the cord all the way through the coil and tying it into an overhand knot to prevent it from slipping back through.

Making decorative overhand knots down the length of the cord adds texture and help position the picks. Slide the picks onto the cord, then finish making additional knots. Check the size of your bracelet by wrapping it around your wrist. If necessary use scissors to trim away extra cord before crimping the second coil in place.

Open the round end of the coil crimp and slide on a spring or lobster clasp onto the wire and then place the ring in it's original position. The clasp hooks directly onto the round end of the first coil.


I hope your adventures in guitar pick jewelry are less stressful than running this workshop. The good news is that the girls were happy and proudly shared their creations with their parents. Some were even motivated to make matching earrings.

As always I'm grateful to Curtis Teen Program for their support and the great kids who put up with me photographing them and even hang around to help clean up!

Monday, July 26, 2010

You grab a line I'll grab a pole...let's craft a fishing game.


This morning fifty children joined me to make a fishing game craft.  I had wonderful high school helpers and the materials on hand but hadn't planned a book selection. Nothing like having the library director pitch in to help me with a search minutes before the program began. We stumbled across a great book entitled 'Piggy and Dad go Fishing'. Father and son don't want to hook smiling worms so they bait their hooks with  pieces of their sandwiches. When they do catch a fish they fall for his smiling face and release him into the water. In the end they abandon the fishing rods and begin a new tradition of feeding the fish. After this crowd pleasing tale I shared the following instructions to make the fishing game.


The fishing rod is made with a 12" length of 3/8" dowel rod, which my husband had kindly cut down from one yard lengths last night. You simply tie one end of a 15" piece of string to one end of the dowel rod. Sandwich the other end of the string between to sections of adhesive magnet. Magnetic tape is sold by the roll and is easily cut with regular scissors.


The fish, octopus, crabs, mermaids, boots, pirate treasure... are all made out of construction paper and markers. I gave a quick demo showing how the shorthand drawing for a fish doesn't work. When you cut a fish symbol the connection to the tail is too narrow and it breaks off. My next drawing featured fish complete with lips and fins to encourage my young artists to flex their drawing skills.


Halfway through the activity I suggested the older to children award their pieces point values to turn the game into a fun math exercise. Each fish needs to have a paperclip slipped over it's paper mouth, so that it can be caught by the magnetic fishing line.


While everyone was busy drawing and cutting their fish I went around the room transforming the two liter pop bottles into ponds. I cut the tops off the bottles with a sharp pair of Fiskar soft touch scissors. I suggested they keep the tops as they make a great funnel for the beach or sandbox.


We used additional paper and clear packing tape to affix drawings and wavy water to the outside of the pond, the finished fish are simply placed  inside the pond.

 
In my experience kids love making something that they can play with when they're finished.  Many thanks to the wonderful parents and children who let me photograph and share their creativity. I'm also grateful for the continued support of Curtis Memorial library.
 

Friday, July 23, 2010

Waterless Aquariums - Free Tutorial


Monday found me toting my bag of tricks to the library to make a magical project for the 'Splash into summer reading' program.  Fifty children arrived with jars and matching lids ready to create. After reading the classic story Fish out of Water by Helen Palmer, the kids were inspired to make clay fish that would never need feeding.


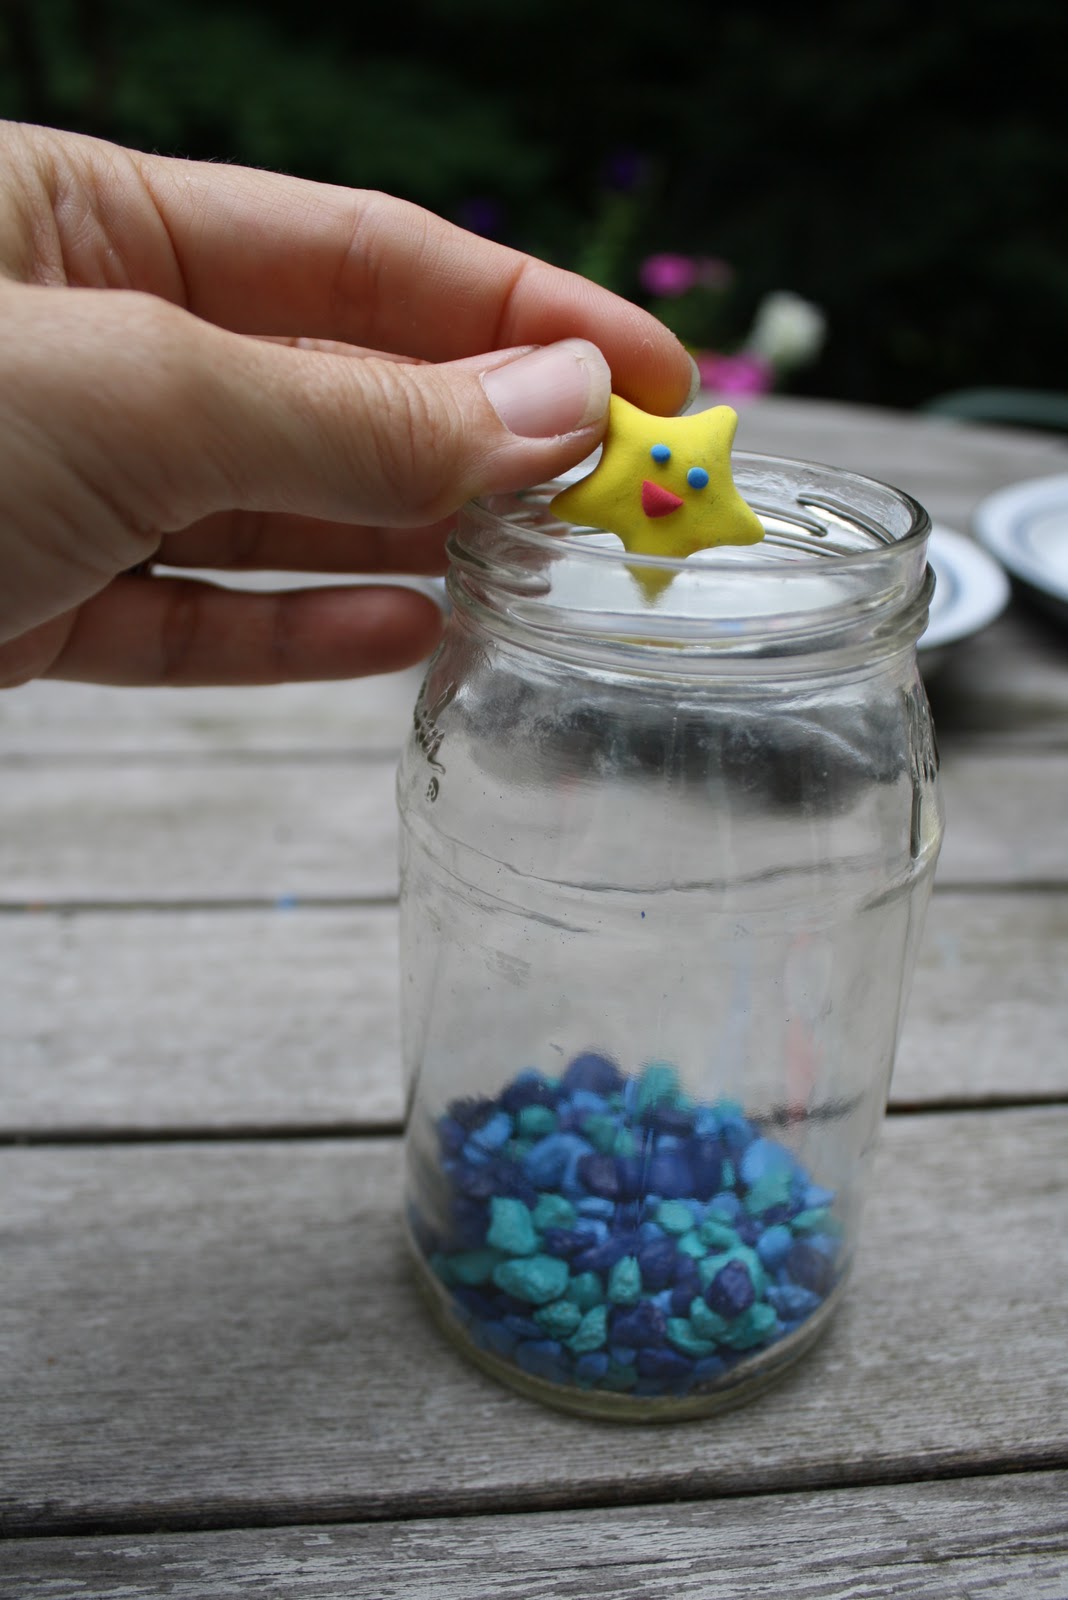
We spread a tarp of blue water over the center of the floor to create a protected community work surface.  The first step was to have the children form fish around a small colored paper clip. I stressed the importance of making sure the top of the paperclip emerged from the top of their finished fish. We passed each child a generous pinch of Model Magic in each of the primary colors. This was enough clay to create three fish and a few bottom dwellers. 


Crayola's model magic has a unique texture it is similar to modeling with marshmallows. It air dries in a day, the only drawback is leftovers need to be tightly wrapped in plastic wrap and be used relatively quickly. I was surprised that a single 2lb tub provided enough clay for the entire group.

The children (and parents) dove right into creating, I witnessed wonderful originality, dolphins, octopus, clam shells, sharks, solid and multicolor fish instantly took shape from the blobs of clay. I wish I had remembered my camera to share images with you, I blame mom overload for this oversight.


The next step was to have the children pour an inch of aquarium gravel into the base of the jar. Next we carefully placed the bottom dwellers over the gravel. They're a little sticky if necessary use a pencil to separate and position them.


Parents helped tie a piece of fishing line to the top of each exposed paperclip.


We used packing tape to attach the end of the lines to the underside of the lid. It's important that the lines extend out in different directions and are varied in length. This will prevent the fish from clumping together. If possible it's a good idea to let the clay dry before placing the fish in the jar.

When my son Elliot was studying fish in first grade we procured giant pickle jars from a friend in food service. The kids spent several hours creating elaborate aquariums with lots of fish.

Thanks to my friend Erin for having a camera in her purse so I could take a snap of some of my favorite young artists!

It was a joy to to share this project with the kids it brought back fond memories of my days as contributing editor to Crayola Kids Magazine.
Related Posts with Thumbnails